


Winter is on its way here in the South; and, although it has been fairly mild, I have one huge problem when the temperature starts to drop: my head freezes and I can never find my hat. Unfortunately I keep my hair short in the winter months as well, and I seem to purchase a new cap every year. I have the worst luck with those things!
Well have decided that instead of shelling out a few bucks here and there every few month, I will just make one. Who knew that you could also sew a neat little cap? I want to share my cloche-inspired design.
Let's go!
Materials
-1/3 jersey fabric or t-shirt
-scrap fabric for embellishment
-buttons for embellishment (optional)
-sewing machine and needle and thread to match
-hat template (This one is a pretty general size for adults, but you can enlarge/reduce as needed.)
All seams are sewn with a 1/4 inch allowance unless otherwise stated.

Print out template. Fold your jersey fabric in half twice or enough times so that you have 4 layers of fabric. Pin template to fabric and cut out.
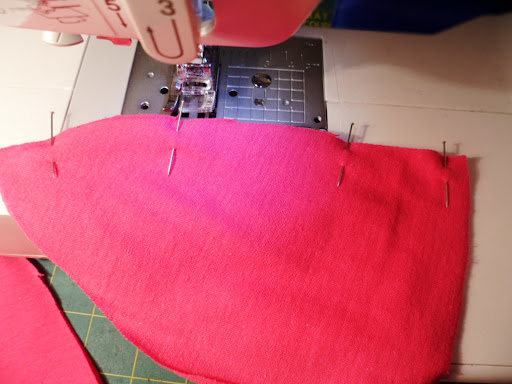
Take 2 of your hat pieces and pin them right sides together.

Select straight stitch on your machine. I chose a width of 2.0 and a length of 3.0. You could also use a regular straight stitch with a stitch length of 3.0 and slightly stretch as you sew.
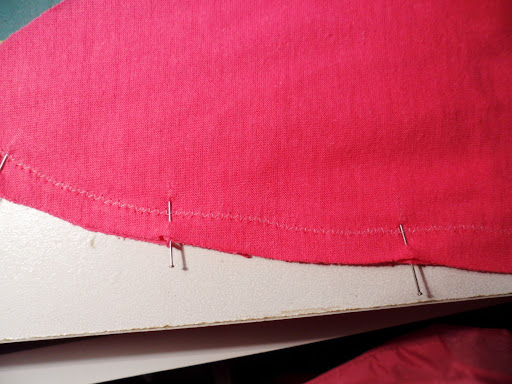
Seams should look somewhat like this. Repeat with the remaining 2 pieces.
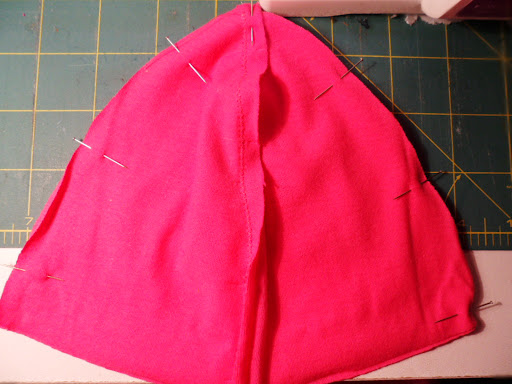
Once both sides are done, place both halves together right sides facing and stitch.

Now turn the bottom edge up an inch to the wrong side, pin, and hem 5/8" from edge.

Head back to your fabric and cut a long strip (at least 40 or so inches) and about 5 or 6 inches wide. Then cut that strip into 3 separate lengths. Try to make them more or less equal, but it doesn't have to be exact. Stack the 3 strip on top of each other and fold over to the wrong side about 1/2" and stitch down.

Plait the cording you just made down till the end and stitch across the rope to secure your braid.


Trim close to stitching.
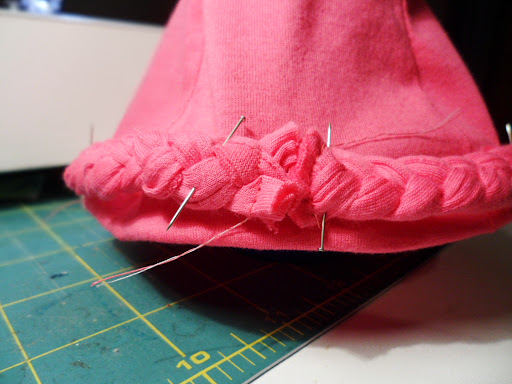

This part is about personal preference. I didn't mind having one of the seams being a front center one. So decide where you want the front center to be on your cap and mark it for reference. Start pinning your braided trim to the far left or far right of that point. Basically you want to start pinning your trim somewhere between the front center and the side center of your cap, just to give your embellishment an assymetrical placement. Make sure you place the trim on top of the hemline.

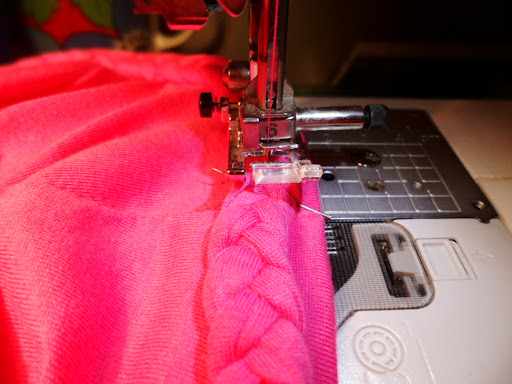

Set your machine to a 3-step zigzag stitch, and set the stitch width and length to the longest they can go. Starting at the edge, start stitching and slighty stretching as you sew. You should barely notice the zigzag stitch because it almost emulates the weave of the braid.

For Dora's cap, I cut 6 or 7 flowers from the knit, stacked them on top of another, and handstitched them where the ends of the braid meet. I, then, added a button to the center of the flower.
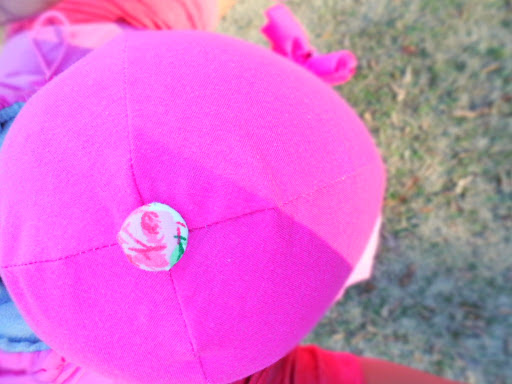
For my cap, I covered 2 buttons with scrap fabric, cut a little rectangle from jersey and formed a bow, handstitched the bow and button where the braid meets, and handstitched another button to the center top of the cap for a beanie feel.


Thanks for looking!
Love your hat. I need to make one of those myself. I made 2 little monkey hats for the grandkids. I'll have to get them to try them on and get a picture.
ReplyDeleteCute idea and excellent instructions. The braided trim totally kicks that hat up a notch. Nice color for you, too.
ReplyDelete