

I'm not one for usually polishing my tips. I usually go to a salon and get a manicure every other month, but looking at all the fun fall polishes in the stores have made me a tad ambitious and adventurous. I'm totally in love with the nudes and tawnies. I created this nail art earlier this week and decided I should share.
Materials:
- base coat/nail hardener
- base color
- accent color (Here I used a nail art polish with the super skinny brush in silver glitter. I suggest using something similar.)
- top coat
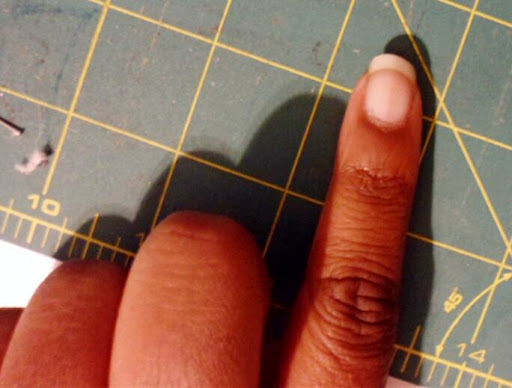
First remove any dirt, oil, etc, from your nail bed by washing your hands and rubbing nail with polish remover or alcohol. Apply base coat or nail hardener, whatever is your preference.

After base coat dries, apply 2 coats of your base color making sure each coat is dry before you layer the next one.
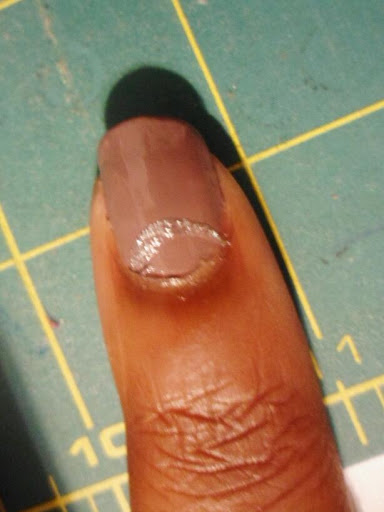
Take your accent color and draw a half moon shape across the width of your nail bed. This is why I suggest nail art brushes. They seem to be more flexible and less messy with drawing fluid, organic shapes.

Fill in the line you drew and let dry. When I polish my nails, I usually use the aid of a liquid nail dryer (because I'm very clumsy AND impatient!)

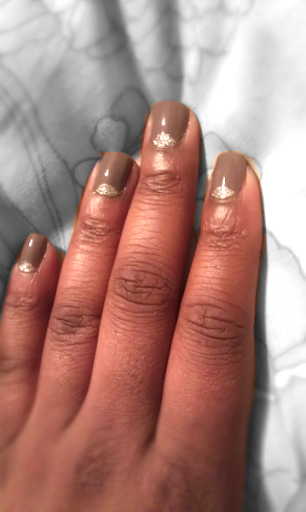
Apply your top coat and marvel at the prettiness you created!
I think this is a super fall manicure that looks wonderful for everyone. It brings just enough touch of uniqueness that will add a little pop to solid polishes.
No comments:
Post a Comment
I love comments! But then again who doesn't? Go ahead and drop me a line.