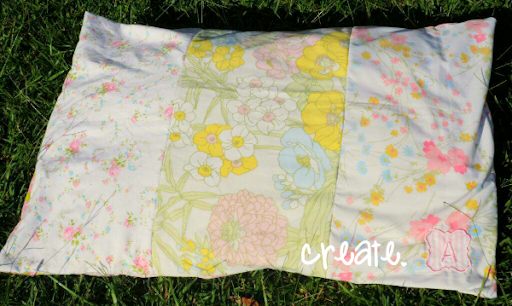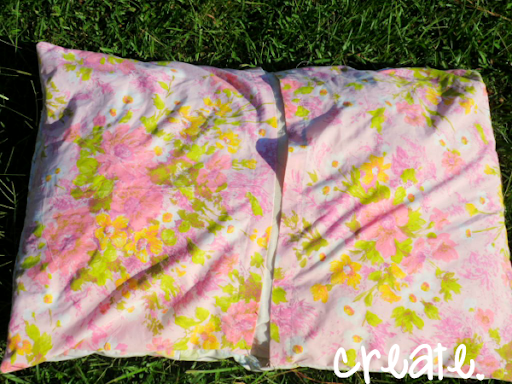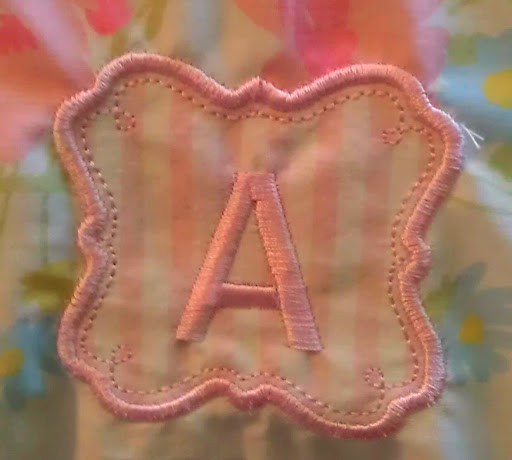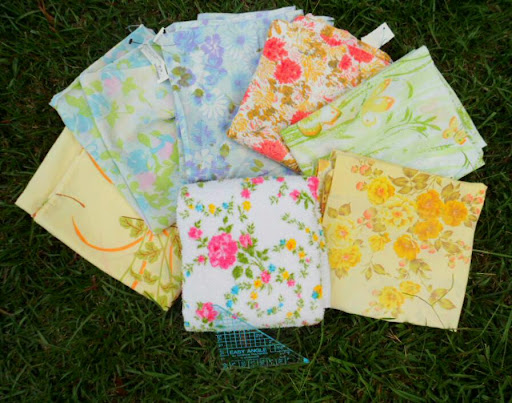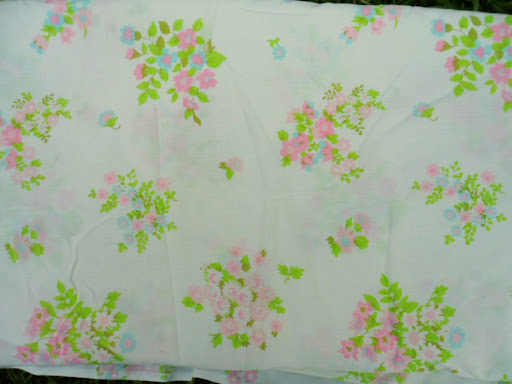
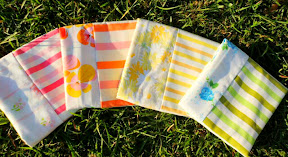
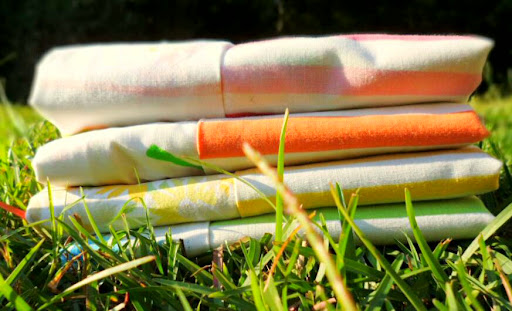
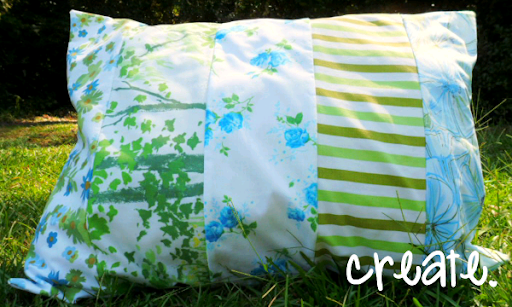
I have been nonstop with sorting through my vintage linens, trying to use up the scraps and cut into the new ones (and some of the old ones, too). After making my monogrammed pillow sham, I have done nothing but work on more. I've been enjoying cutting and ripping sheets that I've just found and ones that I've forgotten I had and piecing them all together like a puzzle. I'm also enjoying the numerous color combos that can be created. I made four yesterday.

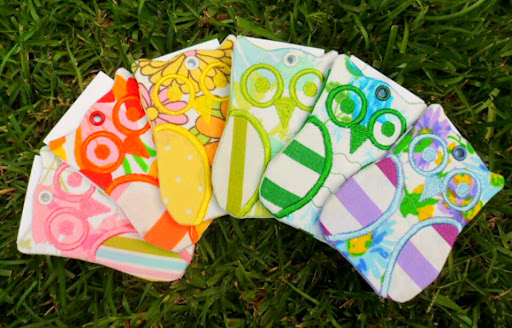
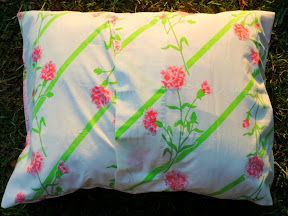
Strawberry Limeade

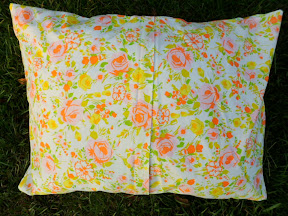
Fruit Punch

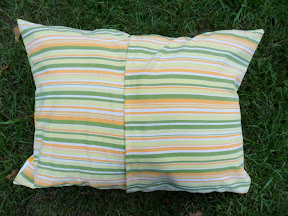
Sparkling Lemonade

Blue Raspberry


I love the patchwork and bright colors; they make me happy!! These will be available in the shop later this week along with some knapsacks I've been working on.
{Have a happy day!!!}


I love the patchwork and bright colors; they make me happy!! These will be available in the shop later this week along with some knapsacks I've been working on.