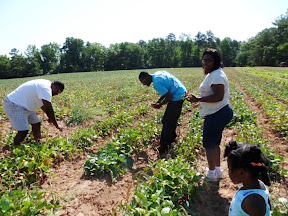
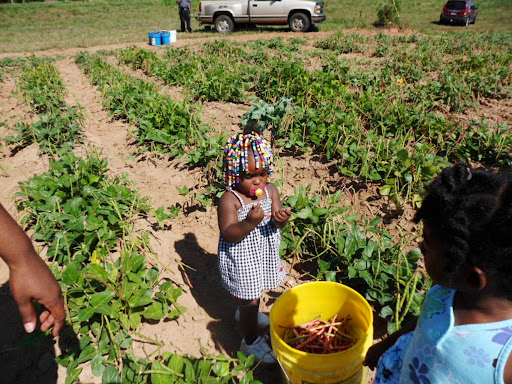
...which is something we didn't get to do unfortunately. Who know it was too hot for strawberries to be harvested? Let's backtrack. Yesterday my whole family planned to get up early this morning and pick strawberries. I was really excited because my little brother rarely agrees to do anything my mom and I think is amazing to do. So my stepdad, mom, niece, brother, my daughter, and myself all headed to the country to find the gate locked and noone at the farm. I was bummed. I had my tastes set on sweet succulent strawberries. We ended up calling the owners and found out that they are only open from April to early May. :( Fortunately right around the corner there was another farm but no strawberries. They had peas and squash. Not exactly my idea of fun, but it was ok.
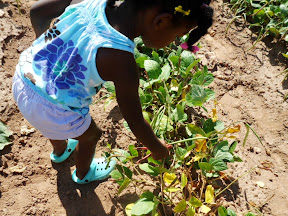
My niece
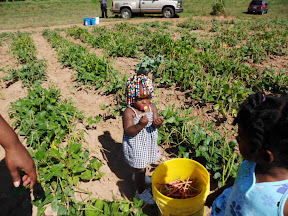
My daughter
After all of that "fun," we went blueberry picking! OMG they had the best blueberries I've ever encountered. I've never picked blueberries as big and sweet as those. I eve n found some blackberries. Albeit the blackberries were a tad on the small side, but the sweetness of them was unmatched.
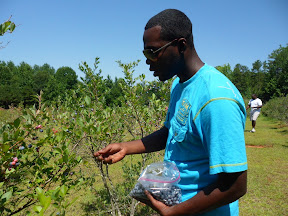
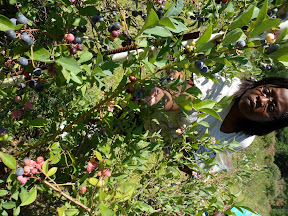
My bro joining in
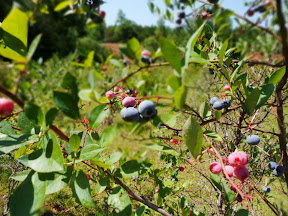
Mmmmm... even the unripened ones look good!!
My mama working away before we leave
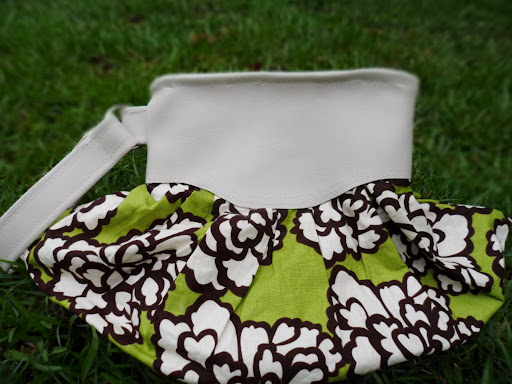
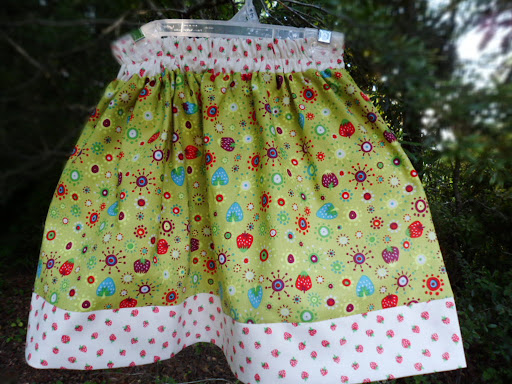
And since we never did get any strawberries out of the deal, I decided to come home and make a little something:

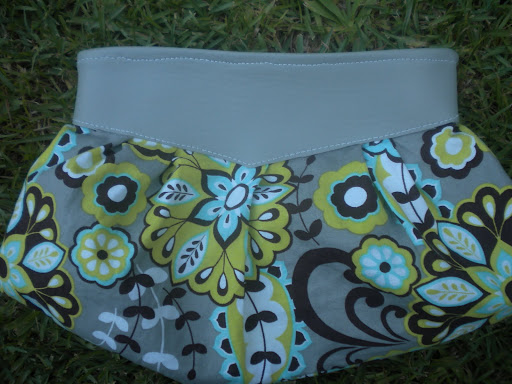
...a strawberry skirt for Little Missie. She likes the longer length skirts now. I had two strawberry fabrics in my stash and decided to whip a skirt up. The green fabric I actually used to make her a skirt a couple of years ago and thought it was time for another.
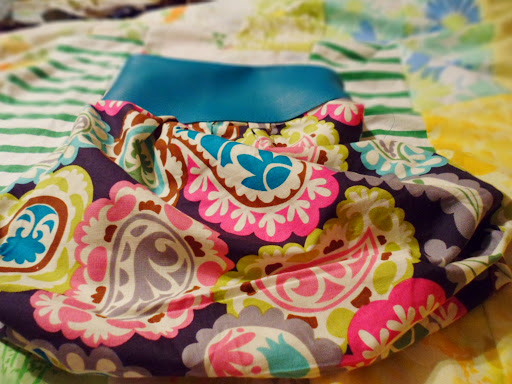
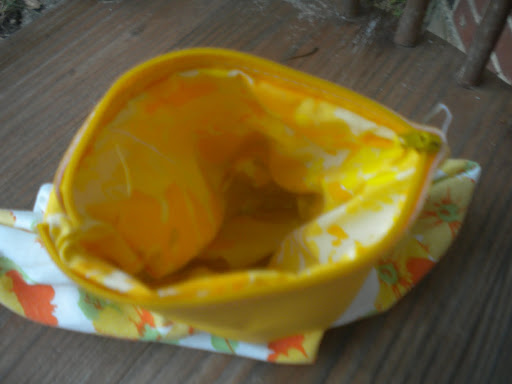
I'm especially fond of the waistband.

It keeps the elastic from rolling and gives it a nice touch to me.

My niece

My daughter
After all of that "fun," we went blueberry picking! OMG they had the best blueberries I've ever encountered. I've never picked blueberries as big and sweet as those. I eve n found some blackberries. Albeit the blackberries were a tad on the small side, but the sweetness of them was unmatched.

My bro joining in

Mmmmm... even the unripened ones look good!!

My mama working away before we leave
And since we never did get any strawberries out of the deal, I decided to come home and make a little something:
...a strawberry skirt for Little Missie. She likes the longer length skirts now. I had two strawberry fabrics in my stash and decided to whip a skirt up. The green fabric I actually used to make her a skirt a couple of years ago and thought it was time for another.
I'm especially fond of the waistband.
It keeps the elastic from rolling and gives it a nice touch to me.